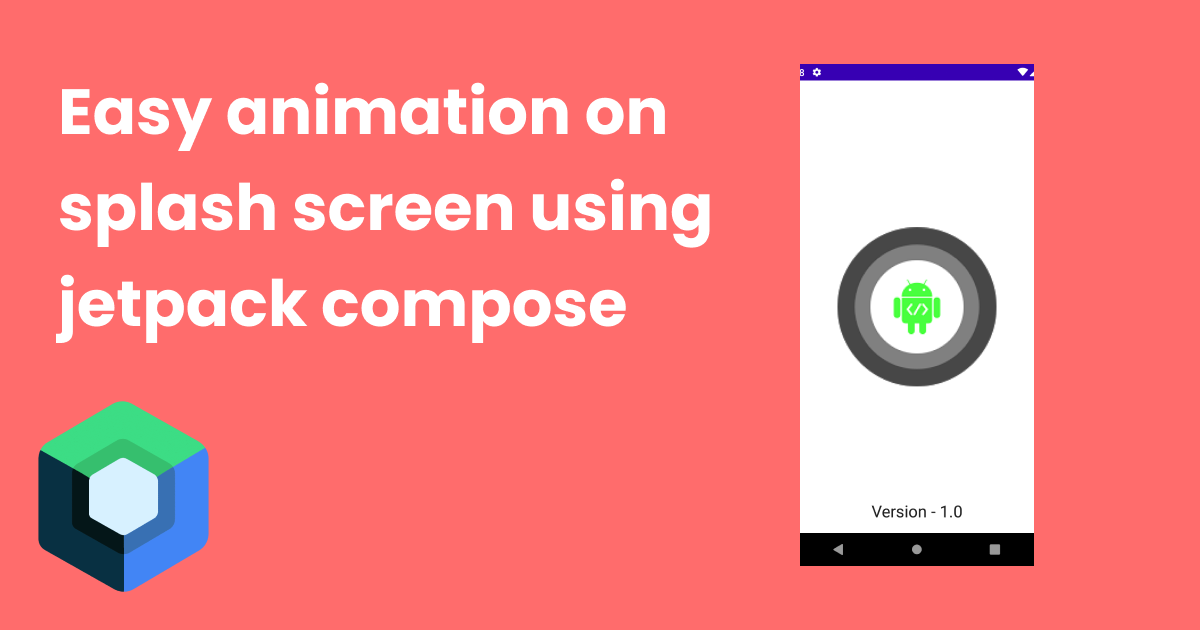
Every android application contains a splash screen to display the app name and app version at the launch of the application. Also, it’s used to load initial data for the application in the background. So the data will be ready before moving to the main screen.
The splash screen is one of the main screens that every android application is having it. So, let’s see the steps to create the splash screen on our jetpack compose the project.
Also, I have created a tutorial on jetpack compose basic, I strongly recommend you learn before creating the project on jetpack compose.
Getting started with jetpack compose – Basic components
Getting started with jetpack compose – Layouts
Getting started with jetpack compose – Modifiers
Getting started with jetpack compose – Theming
Dependencies
In the beginning, we need to add the dependencies for the project. Splash screens don’t have any dependencies. But, after displaying the splash screen, we need to navigate to different screens. For the navigation, we need to add navigation dependency.
implementation "androidx.navigation:navigation-compose:2.6.0-alpha02"Implementation
let’s get started with the implementing splash screen with animation on the jetpack compose.
Setup navigation controls
First, create a new jetpack compose the project. After that, we need to set up the navigation control for the screen available on the application. create screens.kt file and add all the screen names for better navigation.
**screens.kt**
object Screens {
        const val Splash = "Splash"
        const val Dashboard = "Dashboard"
    }
Add navigation code in **MainAcitivity.kt**.
val navController = rememberNavController()
NavHost(navController = navController, startDestination = "splash_screen") {
composable(route = "splash_screen") {
SplashScreen(navController = navController)
}
composable(route = "login") {
LoginScreen(navController = navController)
}
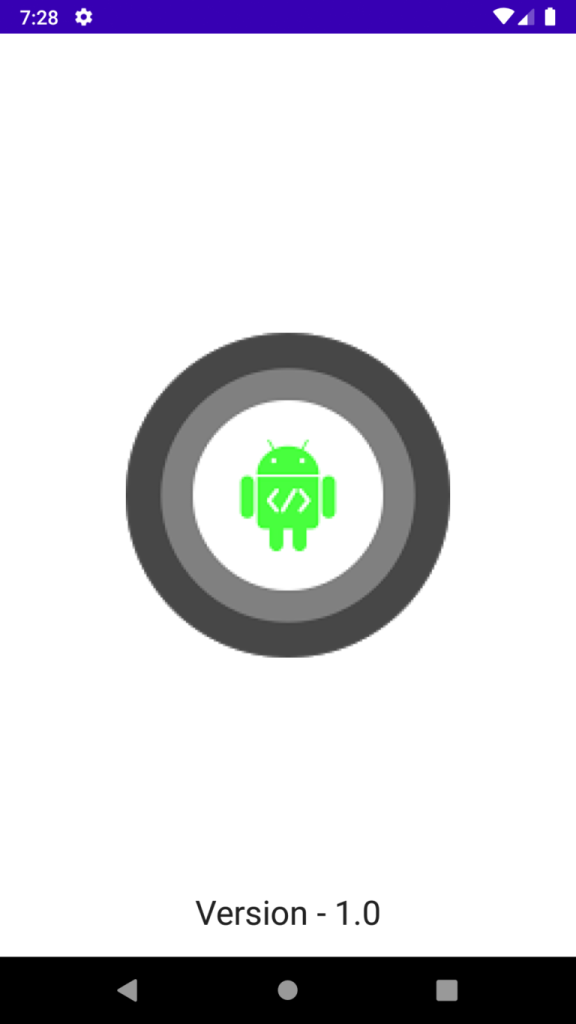
}Create Splash screen UI
In the example, I have created splash and dashboard screens. On the splash screen, we need to create an image view to animate and text to display application information.
**Splashscreen.kt**
@Composable
    fun SplashScreen(navController: NavController) = Box(
        Modifier
            .fillMaxWidth()
            .fillMaxHeight()
    ) {

        Image(
            painter = painterResource(id = R.drawable.app_icon),
            contentDescription = "",
            alignment = Alignment.Center, modifier = Modifier
                .fillMaxSize().padding(40.dp)
                .scale(scale.value)
        )

        Text(
            text = "Version - ${BuildConfig.VERSION_NAME}",
            textAlign = TextAlign.Center,
            fontSize = 24.sp,
            modifier = Modifier.align(Alignment.BottomCenter).padding(16.dp)
        )
    }
And, the preview of the above code,
Animate the image on the splash screen
Already, we have created the splash UI design the next step is to animate the splash image and navigate to the dashboard screen.
@Composable
    fun SplashScreen(navController: NavController) = Box(
        Modifier
            .fillMaxWidth()
            .fillMaxHeight()
    ) {

        val scale = remember {
            androidx.compose.animation.core.Animatable(0.0f)
        }

        LaunchedEffect(key1 = true) {
            scale.animateTo(
                targetValue = 0.7f,
                animationSpec = tween(800, easing = {
                    OvershootInterpolator(4f).getInterpolation(it)
                })
            )
            delay(1000)
            navController.navigate(Screens.Dashboard) {
                popUpTo(Screens.Splash) {
                    inclusive = true
                }
            }
        }

        Image(
            painter = painterResource(id = R.drawable.app_icon),
            contentDescription = "",
            alignment = Alignment.Center, modifier = Modifier
                .fillMaxSize().padding(40.dp)
                .scale(scale.value)
        )

        Text(
            text = "Version - ${BuildConfig.VERSION_NAME}",
            textAlign = TextAlign.Center,
            fontSize = 24.sp,
            modifier = Modifier.align(Alignment.BottomCenter).padding(16.dp)
        )
    }
In the above code, started the image animation at the start of the splash screen. after the 1000ms it will navigate to the dashboard screen.
also, I have added code to the popup splash screen. So that when pressing the back button it won’t come to the splash screen again.
navController.navigate(Screens.Dashboard) {
        popUpTo(Screens.Splash) {
            inclusive = true
        }
    }
Conclusion
The splash screen is the most needed screen for all the applications to load initial data or set up the app configurations. So, try this example and let me know your feedback in the comments.
You can download this example on Github.
Leave a Reply