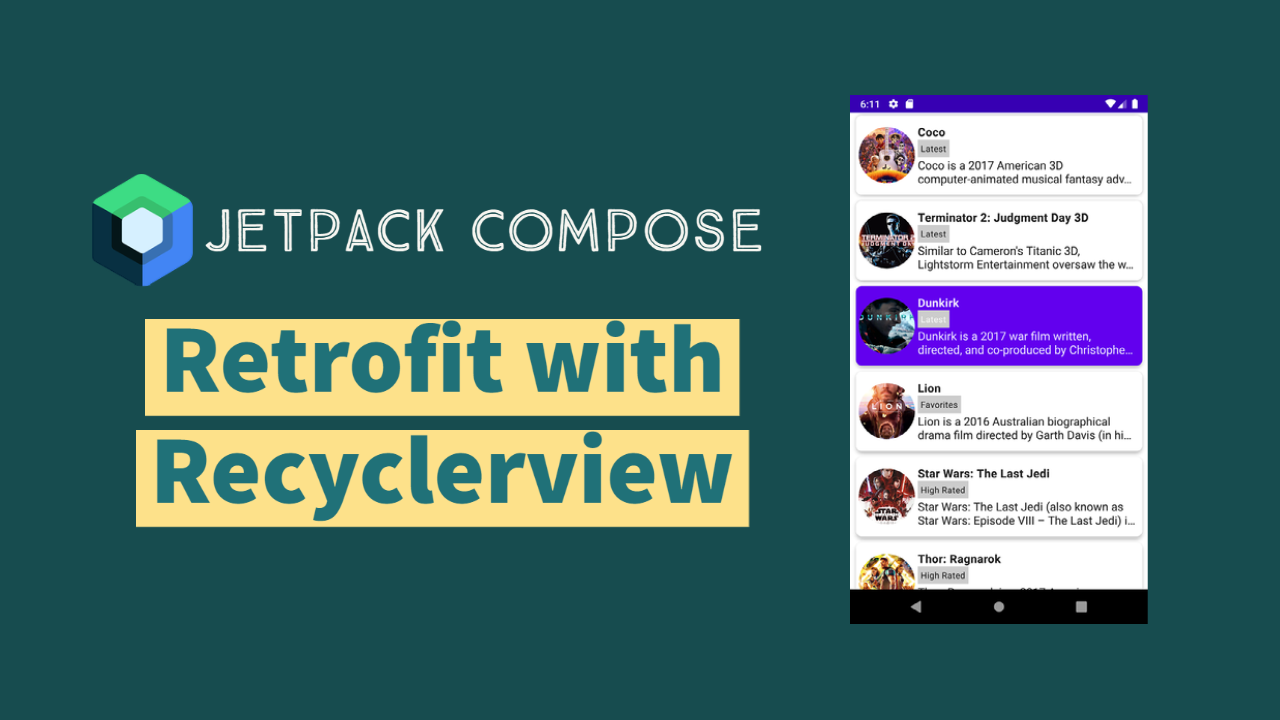
In this post, I am going to explain about using the retrofit and recyclerview in jetpack compose with MVVM pattern. Everybody knows that the Jetpack Compose is a modern toolkit designed to simplify UI development.
Before jumping into this example on retrofit and recyclerview. I have created posts on jetpack compose components, layouts, modifiers, and themes. go through this for a better understanding of jetpack compose.
Basic components – Jetpack Compose
ConstraintLayout – Jetpack Compose
Setup jetpack compose on android studio
Method 1 – Creating a new Jetpack compose Project
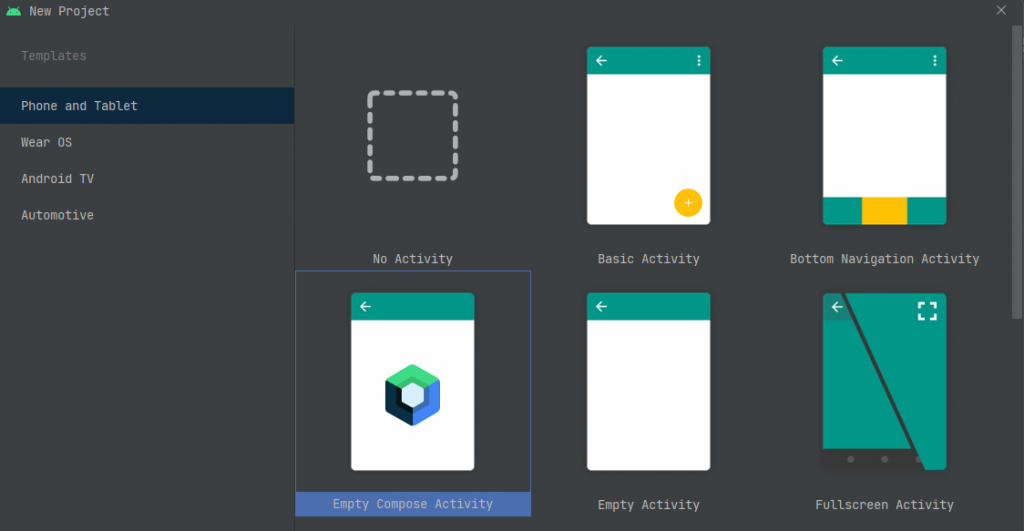
Create New Project by selecting “Empty Compose Activity“, It will add all the Gradle dependencies in the Gradle file and MainAcitivity to accept composable. So, straightaway we can start working on the project.
Method 2 – Migrate Existing Android Studio Project
Add jetpack compose version in the project build.gradle file.
buildscript {
    ext {
        compose_version = '1.0.0'
    }
    ...
}
Then, add the build features and compose options in your module-level build.gradle file.
compileOptions {
    sourceCompatibility "1.8"
    targetCompatibility "1.8"
}
kotlinOptions {
    jvmTarget = '1.8'
    useIR = true
}
buildFeatures {
    compose true
}
composeOptions {
    kotlinCompilerExtensionVersion compose_version
    kotlinCompilerVersion '1.5.10'
}
packagingOptions {
    resources {
        excludes += '/META-INF/{AL2.0,LGPL2.1}'
    }
}
The next step is to add the jetpack compose dependencies in the gradle file.
implementation "androidx.compose.ui:ui:$compose_version"
implementation "androidx.compose.material:material:$compose_version"
implementation "androidx.compose.ui:ui-tooling-preview:$compose_version"
implementation 'androidx.activity:activity-compose:1.3.1'
debugImplementation "androidx.compose.ui:ui-tooling:$compose_version"
Finally, change your MainAcitivity.kt to extend ComponentActivity. Also, add the setContent to accept the composable content on oncreate().
class MainActivity : ComponentActivity() {
    override fun onCreate(savedInstanceState: Bundle?) {
        super.onCreate(savedInstanceState)
        setContent {
        }
    }
}
Setup Retrofit for jetpack compose
To get started with a retrofit first, we need to add the retrofit dependencies.
implementation 'com.squareup.retrofit2:retrofit:2.9.0'
implementation "com.squareup.okhttp3:okhttp:5.0.0-alpha.2"
implementation 'com.squareup.retrofit2:converter-gson:2.9.0'
Next, we need to create to ApiService to fetch data from the API.
In this example, I am using the https://www.howtodoandroid.com/apis/movielist.json API to get a list of movies. the response object will be,
[{
  "category": "Latest",
  "imageUrl": "https://www.howtodoandroid.com/images/coco.jpg",
  "name": "Coco",
  "desc": "Coco is a 2017 American 3D computer-animated musical fantasy adventure film produced by Pixar"
},
  {
    "category": "Latest",
    "imageUrl": "https://www.howtodoandroid.com/images/terminator_2.jpg",
    "name": "Terminator 2: Judgment Day 3D",
    "desc": "Similar to Cameron's Titanic 3D, Lightstorm Entertainment oversaw the work on the 3D version of Terminator 2, which took nearly a year to finish."
  },
  ....
]
So, let’s create a Model class to hold the response data.
Model.kt
data class Movie(val name: String, val imageUrl: String, val desc: String, val category: String)Then, create an ApiService interface and a method to get a list of movies.
interface ApiService {

    @GET("movielist.json")
    suspend fun getMovies() : List<Movie>
}
In this same ApiService, we can get the instance of the API service using the companion object.
interface ApiService {

    @GET("movielist.json")
    suspend fun getMovies() : List<Movie>

    companion object {
        var apiService: ApiService? = null
        fun getInstance() : ApiService {
            if (apiService == null) {
                apiService = Retrofit.Builder()
                    .baseUrl("https://www.howtodoandroid.com/apis/")
                    .addConverterFactory(GsonConverterFactory.create())
                    .build().create(ApiService::class.java)
            }
            return apiService!!
        }
    }

}
Now, we have created ApiService for the API call. let’s create ViewModel to consume data.
Setup ViewModel
We can create a ViewModel by extending the ViewModel() class. So, Create a class MainViewModel and extends the ViewModel.
class MainViewModel : ViewModel() {

}
Next, we need to create mutablestateof() observable to notify the changes to composable at runtime.
check this to know more about State and Jetpack Compose | Android Developers.
Call the apiService.getMovies() inside the viewModelScope and set the response in the mutablestate variable.
class MainViewModel : ViewModel() {
    var movieListResponse:List<Movie> by mutableStateOf(listOf())
    var errorMessage: String by mutableStateOf("")
    fun getMovieList() {
        viewModelScope.launch {
            val apiService = ApiService.getInstance()
            try {
                val movieList = apiService.getMovies()
                movieListResponse = movieList
            }
            catch (e: Exception) {
                errorMessage = e.message.toString()
            }
        }
    }
}
Now the data is ready. Next, we need to display the data using the LazyColumn composable component.
Creating LazyColumn: Easy way to Recyclerview
If you need to display a large number of items (or a list of an unknown length), using a layout such as a Column can cause performance issues, since all the items will be composed and laid out whether or not they are visible.
Compose provides a set of components that only compose and layout items that are visible in the component’s viewport. These components include LazyColumn and LazyRow.
A LazyColumn is a vertically scrolling list that only composes and lays out the currently visible items. It’s similar to a Recyclerview in the classic Android View system.
check more about lazyColumn.
Let’s create a composable function for the movie item.
MovieItem() composable
in this example, I am using the coil library to load images from API. please add the coil dependency in the Gradle file.
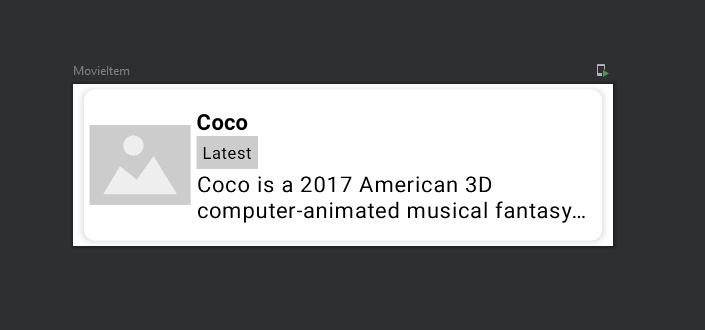
implementation "io.coil-kt:coil-compose:1.3.2"I have created a movie item in Card and set a corner radius of 8dp and elevation. Also, created a row with 20% for the image and the remaining 80% for the text data.
I am not explaining the movie item components here. I have explained the composable components in another post. please check that for a better understanding of creating composable components.
the movie composable function code,
@Composable
fun MovieItem(movie: Movie) {
    Card(
        modifier = Modifier
            .padding(8.dp, 4.dp)
            .fillMaxWidth()
            .height(110.dp), shape = RoundedCornerShape(8.dp), elevation = 4.dp
    ) {
        Surface() {

            Row(
                Modifier
                    .padding(4.dp)
                    .fillMaxSize()
            ) {

                Image(
                    painter = rememberImagePainter(
                        data = movie.imageUrl,

                        builder = {
                            scale(Scale.FILL)
                            placeholder(R.drawable.placeholder)
                            transformations(CircleCropTransformation())

                        }
                    ),
                    contentDescription = movie.desc,
                    modifier = Modifier
                        .fillMaxHeight()
                        .weight(0.2f)
                )

                Column(
                    verticalArrangement = Arrangement.Center,
                    modifier = Modifier
                        .padding(4.dp)
                        .fillMaxHeight()
                        .weight(0.8f)
                ) {
                    Text(
                        text = movie.name,
                        style = MaterialTheme.typography.subtitle1,
                        fontWeight = FontWeight.Bold
                    )
                    Text(
                        text = movie.category,
                        style = MaterialTheme.typography.caption,
                        modifier = Modifier
                            .background(
                                Color.LightGray
                            )
                            .padding(4.dp)
                    )
                    Text(
                        text = movie.desc,
                        style = MaterialTheme.typography.body1,
                        maxLines = 2,
                        overflow = TextOverflow.Ellipsis
                    )

                }
            }
        }
    }

}
the preview of the movie item,
The view for the movie item is ready. let’s use the lazyColumn to make it look like the recyclerview.
using lazyColumn, loop through all the items, and add the movie items.
@Composable
fun MovieList(movieList: List<Movie>) {
    LazyColumn {
        itemsIndexed(items = movieList) { index, item ->
            MovieItem(movie = item)
        }
    }
}
Making item Selectable
To make the item in lazyColumn is selected. First, we need to create the mutableState() variable to save the selected item position.
Also, pass the current index and selected item index to every item in the lazyColumn. along with the position we need to pass the lambda function for the click listener. on clicking the movie item, we need to change the selected item position.
@Composable
fun MovieList(movieList: List<Movie>) {
var selectedIndex by remember { mutableStateOf(-1) }
LazyColumn {
itemsIndexed(items = movieList) { index, item ->
MovieItem(movie = item, index, selectedIndex) { i ->
selectedIndex = i
}
}
}
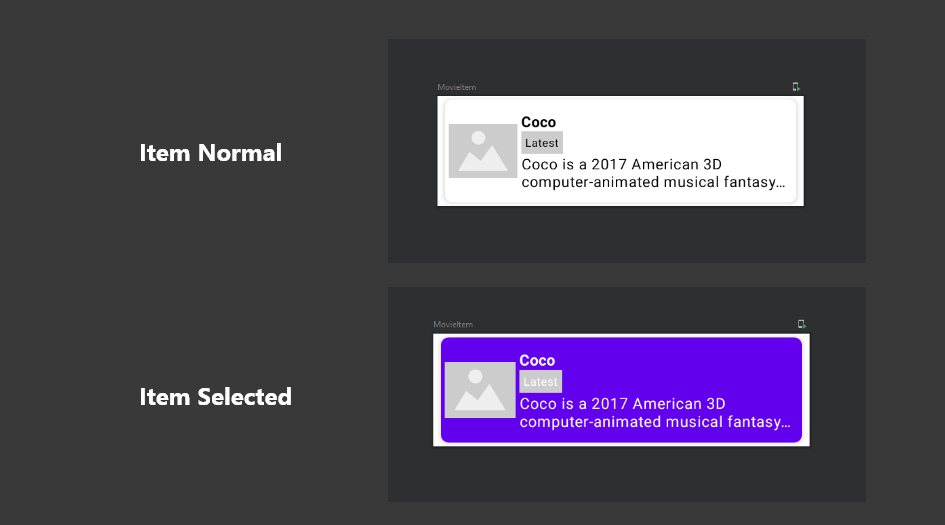
}In this movie item compensable, we need to check whether the current position and the selected position are the same or not. if the same then we need to set the selected background for the item.
Also, add the clickable modifier for the movie item. by clicking the card, we need to change the selectedIndex . that will reload the composable and make the clicked item selected.
 @Composable
fun MovieItem(movie: Movie, index: Int, selectedIndex: Int, onClick: (Int) -> Unit) {

    val backgroundColor =
        if (index == selectedIndex) MaterialTheme.colors.primary else MaterialTheme.colors.background
    Card(
        modifier = Modifier
            .padding(8.dp, 4.dp)
            .fillMaxWidth()
            .clickable { onClick(index) }
            .height(110.dp), shape = RoundedCornerShape(8.dp), elevation = 4.dp
    ) {
        Surface(color = backgroundColor) {
            ....
        }
Finally, we need to call the MovieList() composable function with the movieList response data from the ViewModel.
override fun onCreate(savedInstanceState: Bundle?) {
    super.onCreate(savedInstanceState)
    setContent {
        JetpackComposeMVVMRetrofitAndRecyclerviewTheme {
            // A surface container using the 'background' color from the theme
            Surface(color = MaterialTheme.colors.background) {
                MovieList(movieList = mainViewModel.movieListResponse)
                mainViewModel.getMovieList()
            }
        }
    }
}
mainViewModel.movieListResponse observe the data from the ViewModel and update the UI. we need to call get getMovieList() on ViewModel to load the data from the API.
Conclusion
I hope you understand how to create lazycolumn and ViewModel to call the API using the retrofit and update the UI. Please let me know if you have any comments. Thanks for reading. You can download this example on **Github.
Leave a Reply